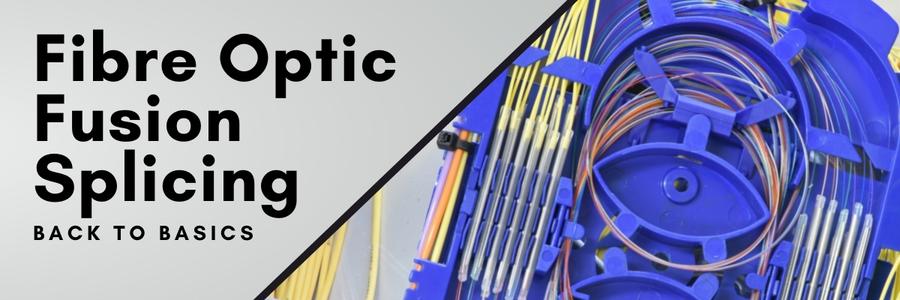
What is Fibre Optic Fusion Splicing?
You're deploying a new fibre optic network (or expanding an existing network) and you find out that your fibre cable is not long enough. What do you do? You can run to get more fibre cable and delay the job (possibly) for day/s. Or you can fuse two (or multiple) optical fibres together to create a longer fibre optic cable. The act of joining two individual lengths of fibre optic cable is called splicing. The two most common splicing methods are - fusion splicing and mechanical splicing. Fusion splicing involves aligning, cleaning and cleaving stripped fibres and permanently fusing them together. Mechanical splicing merely 'holds' the fibre ends together, which increases the insertion loss compared to a fusion splice that provides a continuous connection between two fibres. If you want your fibre network to provide superior performance, fusion splicing is the preferred splicing method due to the significantly improved splice performance.
Fibre Optic Fusion Splicing is usually a four-stage process; Preparation, Fusion Splicing, Sealing and Protecting, and finally Testing.
The process requires the following supplies and equipment:
- Kevlar/Aramid scissors and other tools for entering the cable and separating out individual fibres for splicing;
- Stripping tools with different hole sizes for removing fibre buffer coatings;
- Fibre Optic Cleaning Fluid and lint-free wipes to clean the bare fibre prior to splicing;
- Fibre Cleavers for terminating the fibre to the right length with high-quality end-faces;
- A high-quality, reliable Fusion splicing machine;
- Protective tubes or sleeves, or a fibre re-coating system;
- Test equipment, such as loss test sets or OTDRs.
Stage 1 - Preparation
The foundation of a good splice is good fibre preparation. In order to perform fusion splicing, the two bare pieces of fibre must be cleaned and properly prepared. This includes removing the jacketing that protects the fibres so that every strand is visible. Once completed, the ends of both fibres being spliced are stripped. The fibres then need to be cleaned with a lint-free wipe and some IPA before we can start to cleave the fibre. A good fibre optic splicing machine such as Swift K33A, normally has a cleave tool.
Stage 2 - Fusion Splicing
The fibre optic cables are then placed into the fusion splicer to perform the fusion splicing automatically. The best quality fusion splicers provide core alignment, resulting in the fibre permanently joined to perfection.
Stage 3 - Sealing and Protecting
Once the fibres are connected, they are placed in a re-enforced protection sleeve, otherwise known as a Heat Shrink Splice Protector. This protects the fibre by preventing it from twisting and sealing it against the elements. The re-enforced protection sleeve is heat shrunk onto the fibre using the fusion splicer's oven.
Stage 4 - Testing
After the fibres are spliced and terminated, they must be tested for continuity and polarity and end-to-end insertion loss. This is normally performed with a power meter/source or an Optical time-domain reflectometry (OTDR).
It’s important to test optical fibre systems to:
- Verify the system works correctly
- Ensure splices are acceptable
- Identify problems
- Provide a baseline for maintenance and troubleshooting
In summary, the fusion splicing process improves both the performance and the protection from signal failure that is typically associated with splice-on-connectors, pigtails and direct cable-to-cable splicing. Fusion Splicers are a very convenient way to join two fibres together. Their relatively small size, speed and reliability have made them a popular splicing cable fibre optic tool. Fibre optic fusion splicers are one of the most important tools you can own if you are working with fibre networks.
Need help in choosing a Fusion Splicer?
Speak to one of our friendly, experienced team members today by calling 0393817888 or click here.